Azure Functions のタイマー トリガーを使用して、Azure Machine Learning で発行されたパイプラインを定期的に実行する方法を紹介します。
Azure Machine Learning で発行されたパイプラインを定期的に実行する方法は、以下の 3 つが考えられます。
 A. Azure Machine Learning SDK for Python を使用して機械学習パイプラインのスケジュールを設定する
 B. ロジック アプリから Machine Learning パイプラインの実行をトリガーする
 C. Azure Functions を使用してパイプラインを定期的に実行する
C については、詳細な手順を紹介する公開ドキュメントがないため、本記事では C 方法を紹介します。
(参考情報)
事前準備
本記事では、Visual Studio Code を使用して Azure Functions へデプロイを行います。事前に以下を満たしているかご確認ください。
- Azure Machine Learning ワークスペース リソースの作成
- Azure Machine Learning ワークスペース リソースへのサービス プリンシパル認証設定
(手順参考) 「Authentication in Azure Machine Learning」 の Service Principal Authentication セクション - Azure Machine Learning ワークスペース リソースの作成
- Visual Studio Code のインストール
- Azure Functions 拡張機能 のインストール
設定手順
Azure Functions のリソースの作成
Azure ポータルより Function App リソースを作成します。設定項目は、後述の画像を参照ください。
(参考) Azure Portal で初めての関数を作成する
(参考) クイック スタート:Visual Studio Code を使用して Azure で関数を作成する
「基本」情報を設定します。
 設定例:
  リソース グループ:任意
  関数アプリ名:任意
  公開:コード
  ランタイム スタック:Python
  バージョン:3.8
  地域:任意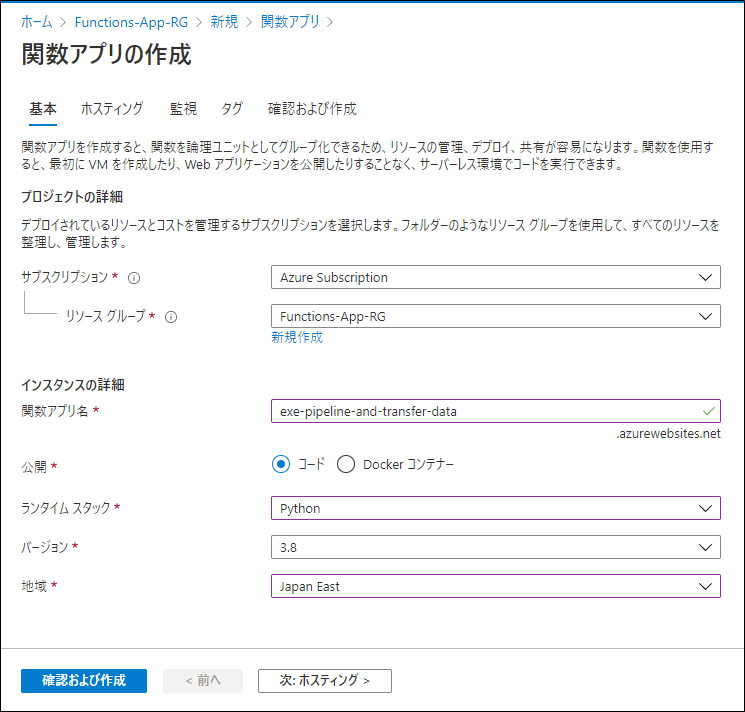
「ホスティング」情報を設定します。
 設定例:
  ストレージ アカウント:既定値
  オペレーティング システム:Linux
  プランの種類:既定値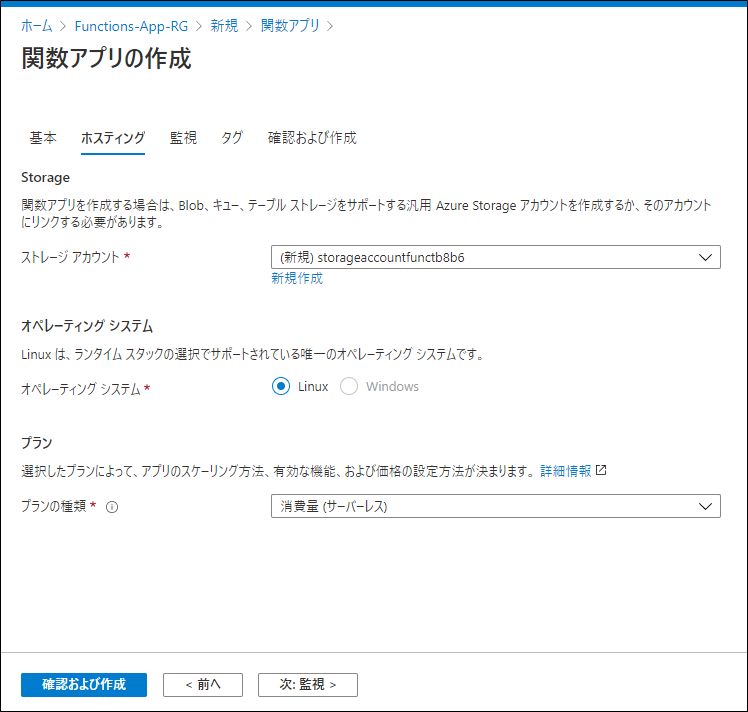
Azure Functions プロジェクトの作成
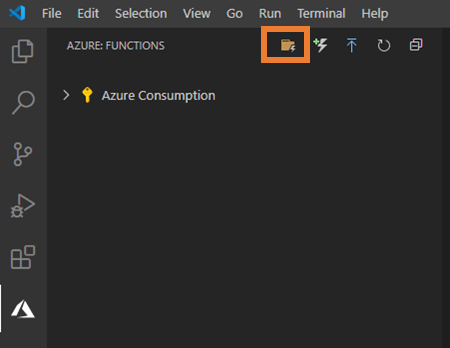
Visual Studio Code を起動し、新しいプロジェクトを作成します。
「Create New Project」ボタンをクリックします。
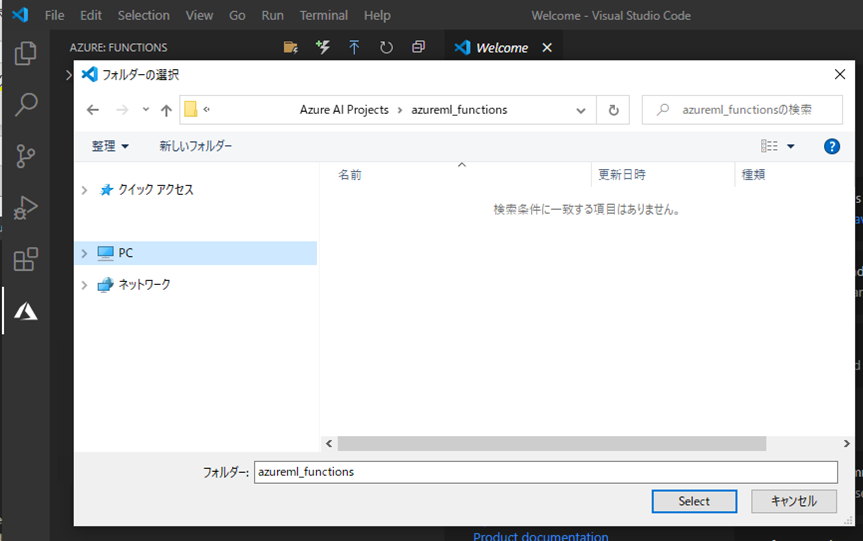
作業用のローカル フォルダーを選択します。
プログラミング言語を選択します。
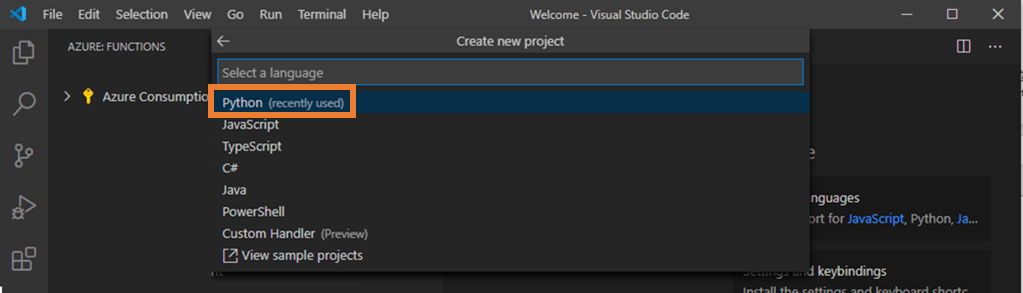
言語のバージョンを選択します。

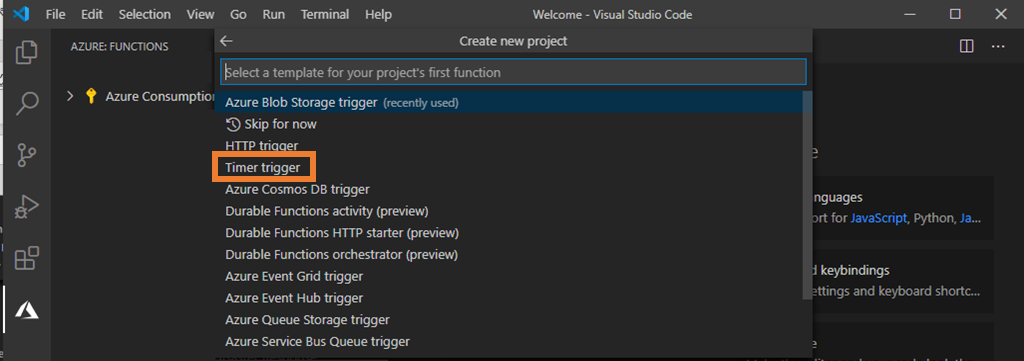
「Timer trigger」を選択します。
Function App の名前を付けます。

実行間隔を表す NCRONTAB 式の値を入力します。後で変更可能なので既定のまま進めます。

「Add to workspace」を選択します。

コード ファイルの編集
Azure Functions プロジェクトに含まれるコード ファイル (__init__.py、function.json、requirements.txt) を編集します。
__init__.py
- ServicePrincipalAuthentication 関数の <Tenant_Id>、<Application_Id>、<Client_Secret_Value> の設定は、下記サイトの [Service Principal Authentication] セクションを参照ください。
(参考サイト) Authentication in Azure Machine Learning - <Subscription_Id>、<ResourceGroup_Name>、<Workspace_Name>、<Pipeline_Id> は、使用する Azure Machine Learning ワークスペース リソースおよびパイプラインの情報を入力ください。<Experiment_Name> はトリガーによって実行した場合の実験名になりますので、任意に指定下さい。
1
2
3
4
5
6
7
8
9
10
11
12
13
14
15
16
17
18
19
20
21
22
23
24
25
26
27
28
29
30
31
32
33
34
35
36
37
38
39
40
41
import datetime
import logging
import azure.functions as func
from azureml.core.authentication import ServicePrincipalAuthentication
from azureml.pipeline.core import PublishedPipeline
from azureml.core import Workspace
import requests
SVC_PR_PWD = "<Client_Secret_Value>"
def main(mytimer: func.TimerRequest) -> None:
utc_timestamp = datetime.datetime.utcnow().replace(
tzinfo=datetime.timezone.utc).isoformat()
if mytimer.past_due:
logging.info('The timer is past due!')
logging.info('Python timer trigger function ran at %s', utc_timestamp)
logging.info('Service Principal Authentication')
svc_pr = ServicePrincipalAuthentication(
tenant_id="<Tenant_Id>",
service_principal_id="<Application_Id>",
service_principal_password=SVC_PR_PWD)
logging.info('Get Workspace')
ws = Workspace(subscription_id="<Subscription_Id>",
resource_group="<ResourceGroup_Name>",
workspace_name="<Workspace_Name>",
auth=svc_pr)
logging.info('Get Published Pipeline')
pipeline = PublishedPipeline.get(ws, id='<Pipeline_Id>')
logging.info('Run Published Pipeline')
pipeline_run = pipeline.submit(ws, '<Experiment_Name>')
logging.info('Waiting result')
pipeline_run.wait_for_completion(show_output=True)- ServicePrincipalAuthentication 関数の <Tenant_Id>、<Application_Id>、<Client_Secret_Value> の設定は、下記サイトの [Service Principal Authentication] セクションを参照ください。
function.json
shchedule 部分を編集することで実行時刻を変更可能です。指定方法は以下のサイトが参考になります。- (参考サイト) NCRONTAB 式
- (参考サイト) NCRONTAB の例
- (参考サイト) NCRONTAB タイム ゾーン
なお、UTC 指定となりますので、JST で指定する場合には 9 時間を差し引いた時刻を指定ください。以下画像では、毎日 8:30:00 JST に実行する設定としています。
1
2
3
4
5
6
7
8
9
10
11
{
"scriptFile": "__init__.py",
"bindings": [
{
"name": "mytimer",
"type": "timerTrigger",
"direction": "in",
"schedule": "0 30 23 * * *"
}
]
}requirements.txt
azureml-core、azureml-pipeline-core、requests を追加します。1
2
3
4
5
6
7
8# DO NOT include azure-functions-worker in this file
# The Python Worker is managed by Azure Functions platform
# Manually managing azure-functions-worker may cause unexpected issues
azure-functions
azureml-core
azureml-pipeline-core
requests
プロジェクトのデプロイ
Visual Studio Code より、Azure Functions プロジェクトのデプロイを行います。デプロイ後にコード ファイルの再編集した場合でも、再度デプロイを実行することで変更を反映することが可能です。
Azure アイコンをクリックして、Function App を右クリックして、「Deploy to Function App…」を選択します。

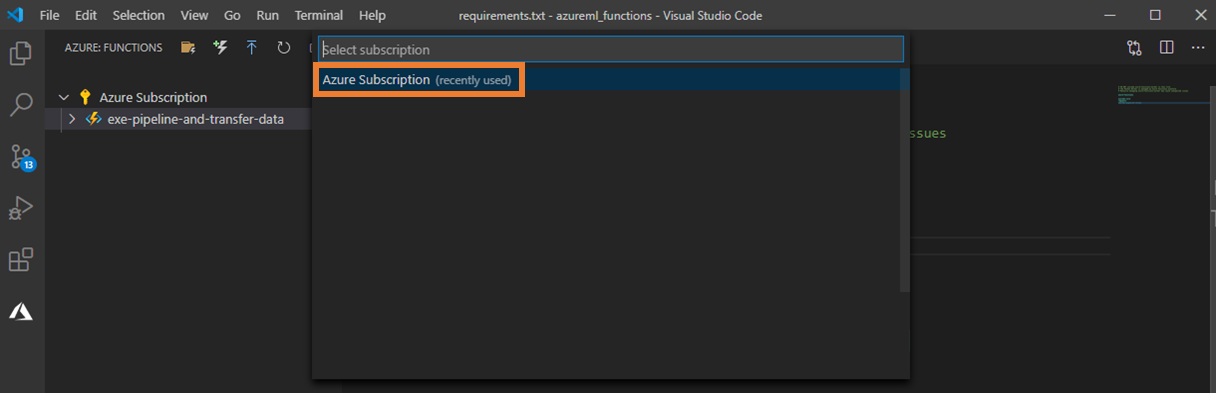
サブスクリプションを選択します。
デプロイ先の Function App リソースを選択します。

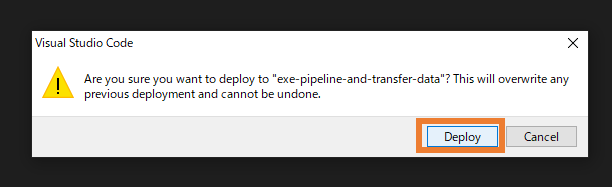
「Deploy」ボタンをクリックします。
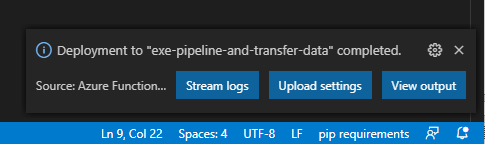
デプロイが完了したら、画面右下に下記のメッセージが表示されます。
動作確認
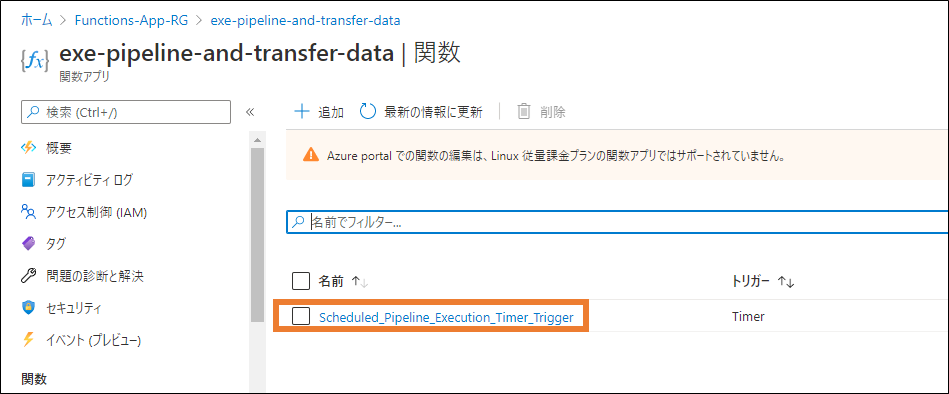
Azure ポータルより、作成したタイマー トリガーが存在し、有効になっていることを確認します。
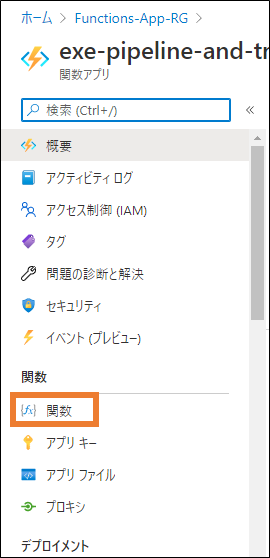
Function App の動作を確認します。デプロイ先の Function App リソースに移動して、「関数」ボタンをクリックします。
作成した Function の名前をクリックします。
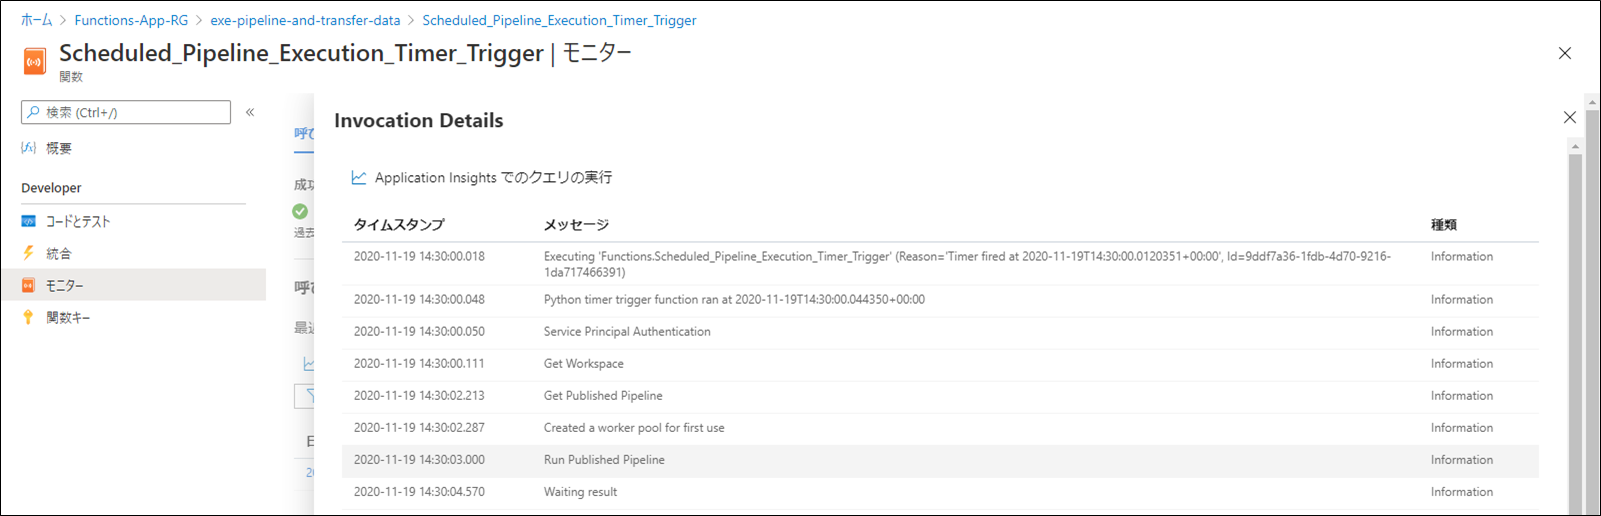
「モニター」ボタンをクリックして、呼び出しのトレースを確認できます。
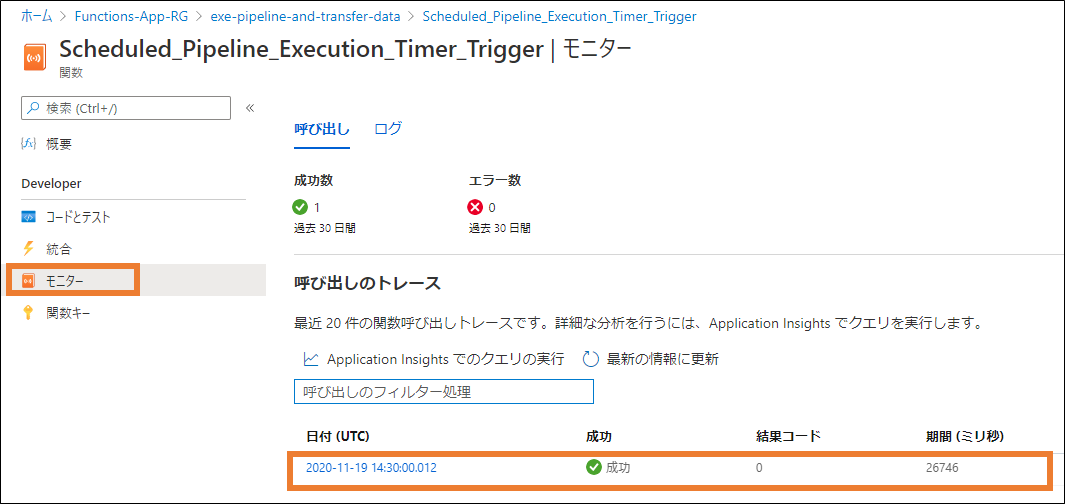
上記の「日付」項目をクリックしますと、ログを確認できます。
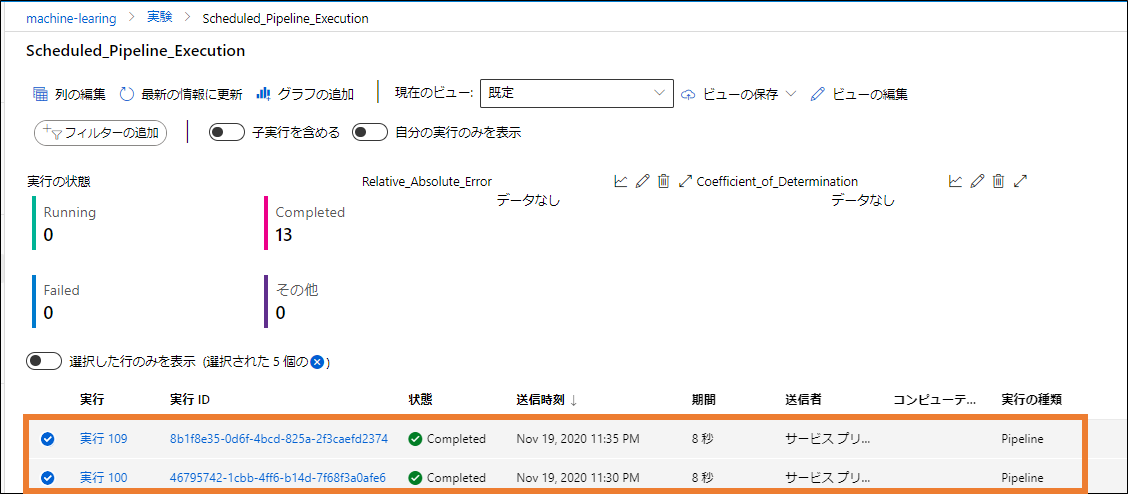
Machine Learning リソースの実験画面で、Function App の Timer Trigger にトリガーされたパイプラインの実行を確認できます。
Azure Functions を使用してパイプラインを定期的に実行する手順は以上となります。
変更履歴2020/11/30 created by Chao2021/11/30 modified by Mochizuki
※ 本記事は 「jpmlblog について」 の留意事項に準じます。
※ 併せて 「ホームページ」 および 「記事一覧」 もご参照いただければ幸いです。